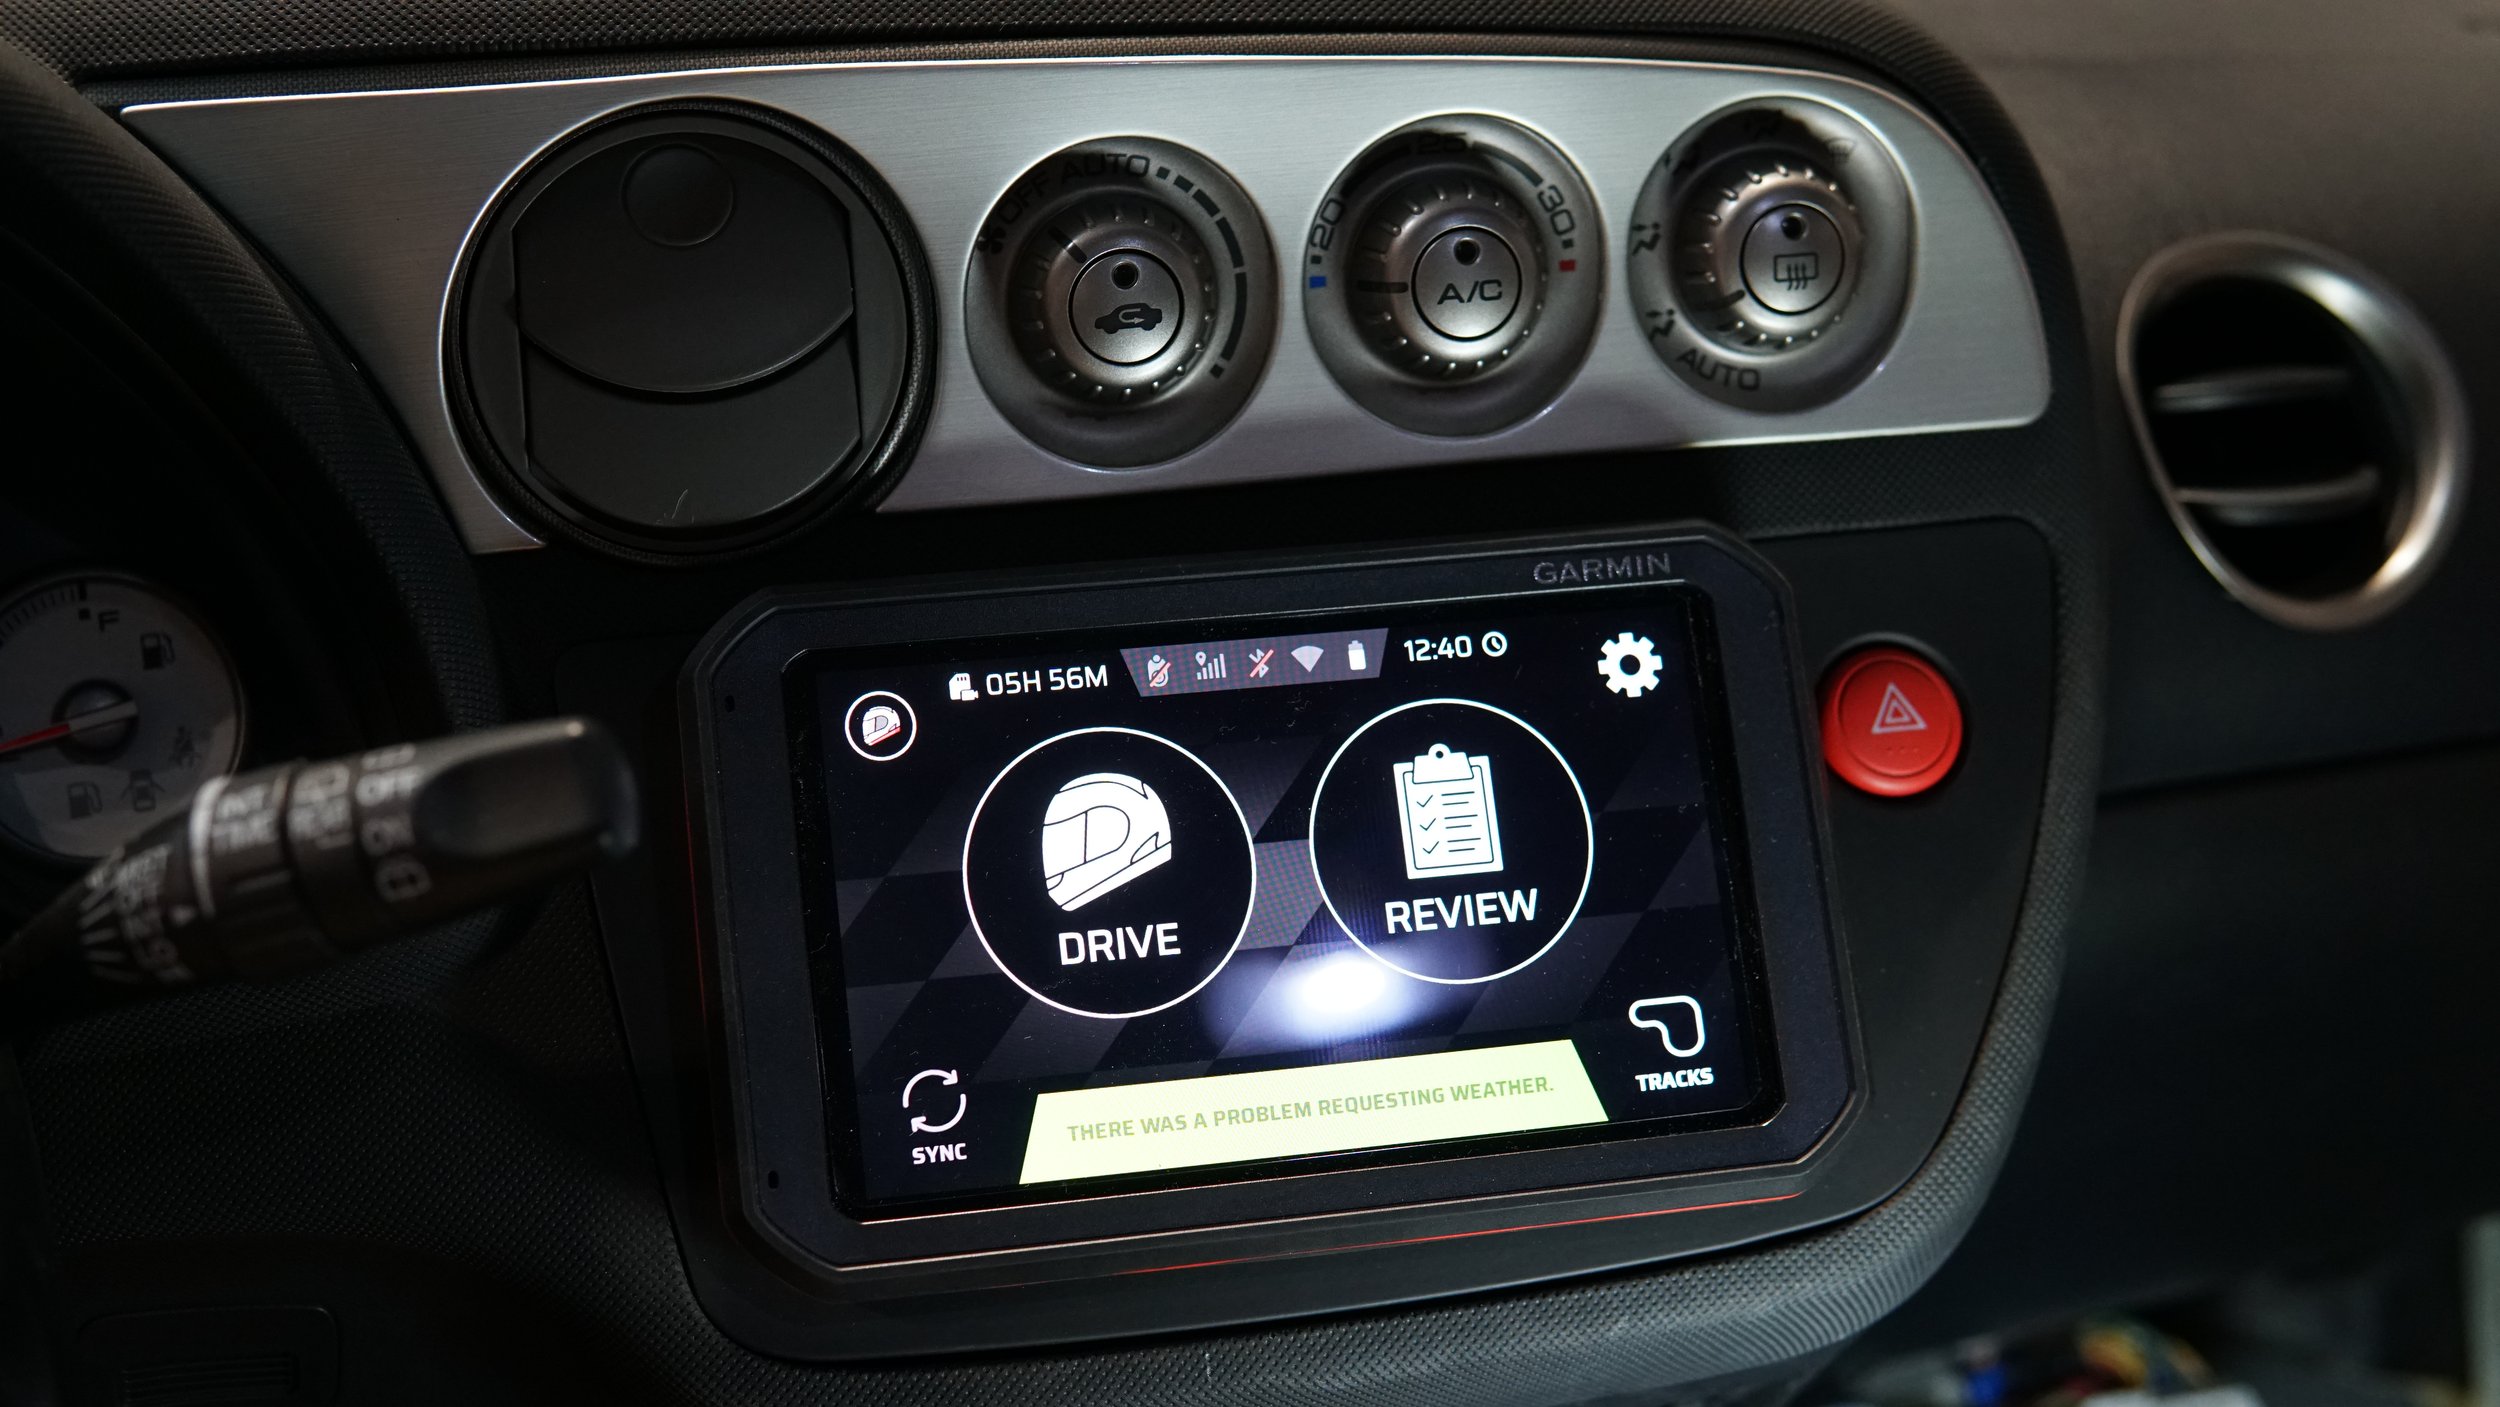
Garmin Catalyst Install
Brandon had the idea of mounting his Garmin Catalyst in the spot where the radio is located. Being a focused track car, he didn’t care to have a head-unit. I was actually surprised that he had gone this long without ever needing to change the head-unit. Changing out the radio is typically one of the first things I do whenever I get a car that doesn’t already come equipped with at the very least Bluetooth audio.
As we were going to remove radio, Brandon didn’t want to completely lose all audio, so he grabbed a JDi Ghost Box, which will allow for him to still retain basic audio playback. I wanted to do a quick write-up about this install as it was unique to me and figured it would be to many others as well. Thanks to Brandon for trusting me with the installation.
Brandon’s RSX Type S. He recently got his headlights upgraded with projectors and JDM yellow day time running lights. Projector retrofits can sometimes look odd due to headlight design, but it looks pretty OE here in the 05-06 RSX headlight.
I’m sure most people have seen the interior of an RSX by now, but here is the factory radio in all it’s six CD changing glory. We will be removing the factory radio in favour of the Garmin Catalyst. Special note that Brandon’s RSX has the optional A-Spec interior trim kit - the silver garnish around the radio and climate control bezel seen here.
The Garmin Catalyst. Brandon used to have this monitor mounted on the windshield along the bottom edge in the corner on the passenger side. He mentioned that this sometimes blocked his view on track. Relocating this will now give Brandon back that spot of the windshield that was previously blocked and now puts it within arms reach without having to lean forward from his seat.
While we are removing the radio, Brandon still wanted to have the ability to play music in the car for the times he does street drive the car. This is where the JDi Ghost Box comes in. It’s a Bluetooth receiver with a 4 channel output allowing for playback from up to 4 speakers. It also has an RCA output for a subwoofer if someone wanted. It essentially works as wireless Bluetooth headphones. Equalizer and volume is all controlled by the audio device. Pretty cool idea.
I made sure to eject all of Brandon’s 6 CD’s, and good thing I did. Wouldn’t want to lose this one.
With the radio removed, there is a huge cavity in the dash behind the radio. Things I like to see when installing aftermarket stuff.
Here is the new radio dash kit that we’re using for the Garmin install. It is required to reuse the old radio bracket which allows for the new dash kit to be properly secured. This was removed from the factory headunit.
We also replaced the hazard button with the JDM counterpart.
The factory bracketry actually made for a very nice mounting solution for the Garmin mount. Originally in the planning phases, I had envisioned creating a plate that would go across the double din slot of the dash kit and have the Garmin hard mounted to that. This turned out to be much less work, as well as being more simplistic.
Lining up the mount to ensure a flush fitment.
Once I found the spot I was happy with, I marked and drilled the holes. I had some button head bolt screws that were the perfect size but were much longer than needed. I ended up just cutting off the excess length and applied blue lock-tite to help prevent the nuts from backing off.
Here is the new trim piece with the Garmin magnetic mount installed. Again, the idea of making a block-off plate to hide the hole came to mind. I decided against it due to the amount of work needed to make it fit well versus how useful it would actually be. Brandon never intends to remove the Catalyst, and having quick access to the mount which controls power and the camera is not a bad thing either. A plate however would still be nice. Maybe something we revisit at another time…
The Catalyst is hardwired to work with ignition power.
Another angle of it. I think it looks pretty cool, all while being functional for this track car.
After that was done, I moved onto installing the JDi Ghost Box. This particular unit comes with a radio harness adapter, however since Brandon’s RSX Type S has the factory Bose system, the factory amp needed to be bypassed which required removal of the passenger seat. Without the factory passenger seat this Bose amp has no place to fasten to so Brandon had this paperweight sliding around scratching up the floor. Since we are bypassing the amp and hardwiring directly to the speakers, we can now remove the Bose amp completely.
Quick solder job. Just like wiring up an aftermarket radio. The Ghost Box is quite simple to install.
Harness all taped up neatly.
Quick ziptie job keeps the factory harnesses from flying around while driving. There aren’t any mounting holes on the case of the JDi Ghost Box so I wasn’t able to secure it down using fasteners. Instead JDi provides double sided tape. We’ll see how long that last…
Another thing we got figured out was Brandon’s horn button which hadn’t been working for years after he installed the Momo steering wheel. Now it all works with his quick release.
One last look at the interior. I peeled off the A-Spec trim off the factory radio for Brandon to reapply on the new radio trim. I think that would be the final touch on this minor but new interior change up.


