FD2R Conversion: Side Skirt Install
The last piece I had for the FD2R conversion were the OEM Honda Civic FD Type R side skirts. This in particular was an install I was dreading as it required drilling into the rockers of the car. The OEM skirts had 11 moulding clips along the inside which simply pressed into the rocker - however, with my car being a non Type R, those holes did not exist from factory.
I brainstormed some other ways to install without drilling, but when it came down to it I ultimately decided that drilling the holes for the moulding clips would be the best solution and also how Honda intended for the skirts to install. Figuring that I don’t think I’d ever have this car ever again without skirts, I felt less anxious about my decision after playing out all of the other solutions.
I also tried looking through the internet for some guidance on the install but there wasn’t much out there in terms of a comprehensive guide. It isn’t rocket science but I was being quite particular about making sure it fit and lined up as close to 100% as possible. I also wanted to minimize the risk of needing to drill more holes than I needed or go back and widen holes.
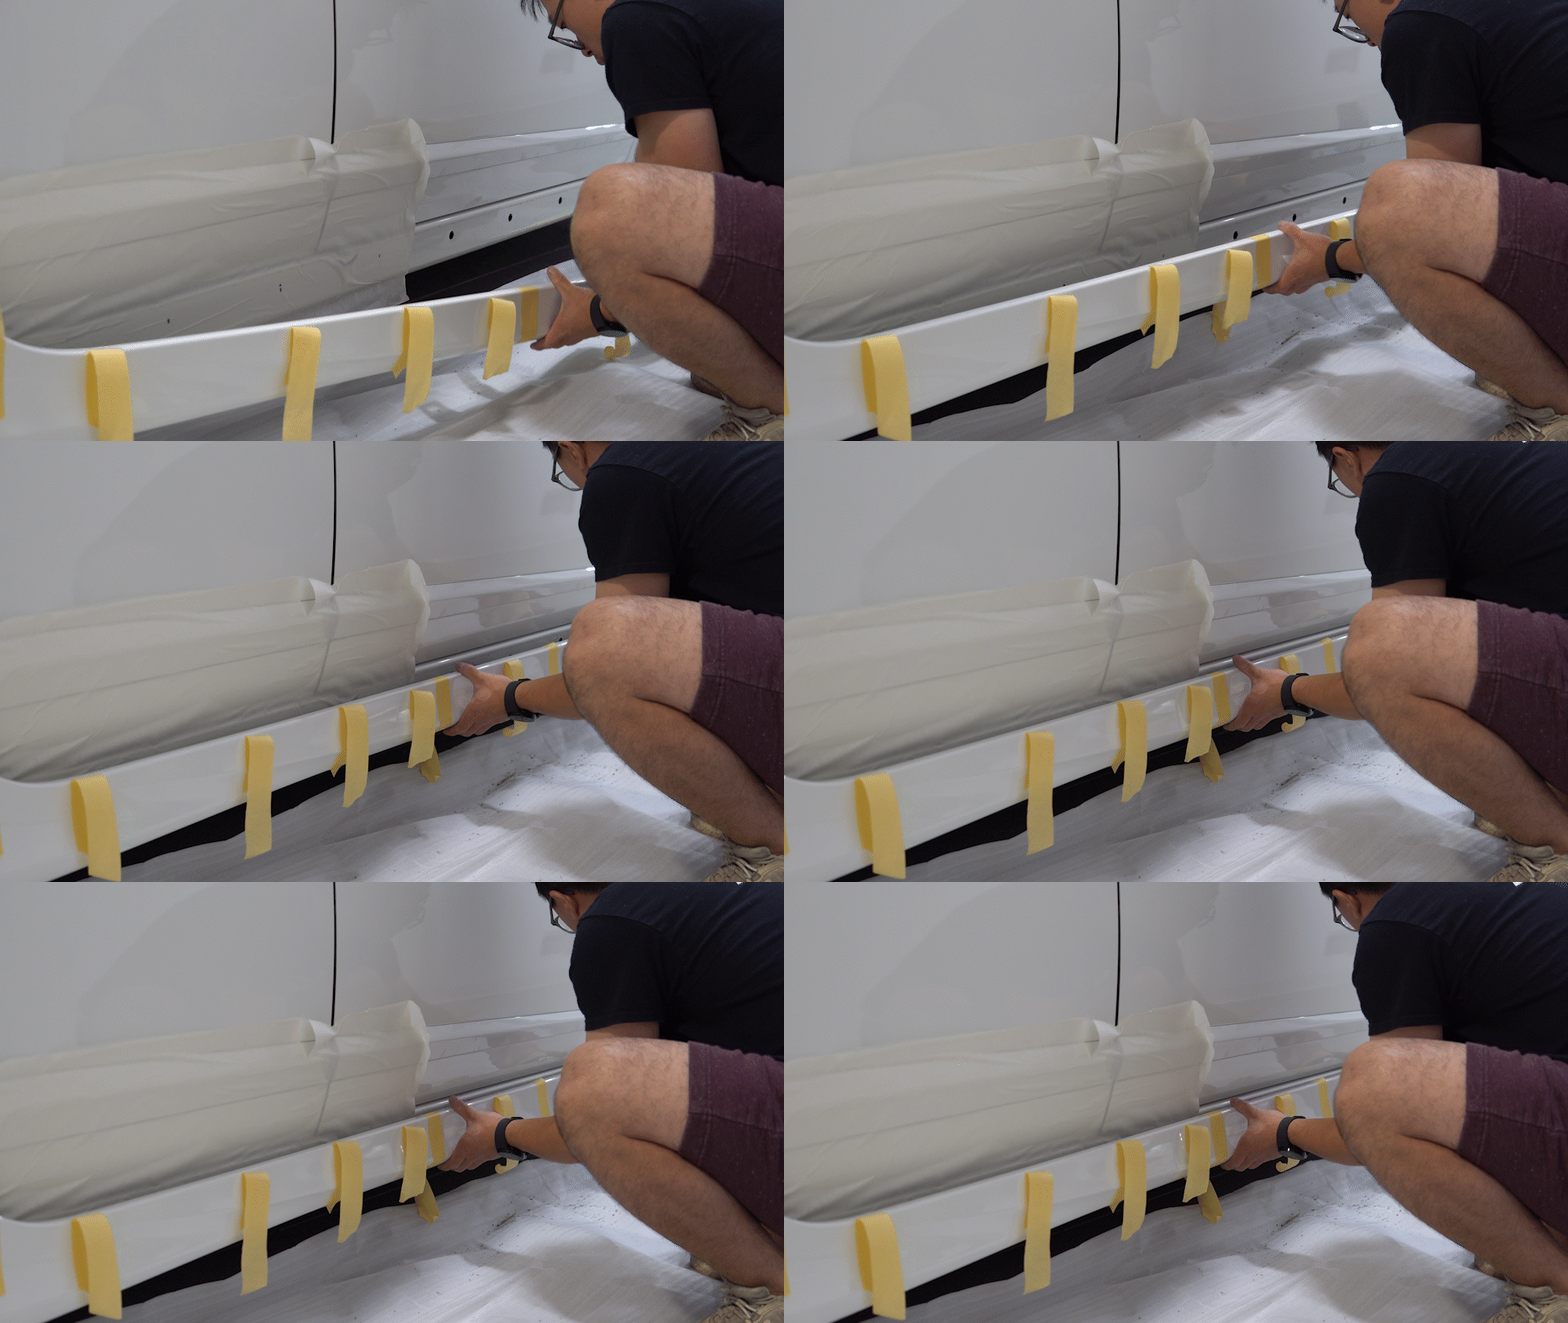
The first step was to mock up the skirt. The saving grace here is that the OEM JDM FD2 fender already has an alignment hole for the side skirt which helped with getting the rest of the skirt lined up. I used vinyl transfer paper to mask along the doors. The idea was to; 1. protect the paint along the doors during the mock up process and 2. allow something for witness marks to appear on left over by pressing the clips against the vehicle.
Here you can see one of the moulding clips and the witness mark it left behind. I marked each witness mark with a sharpie for better visibility. I then drilled each hole one at a time and would mock the skirt up again after each hole to ensure that the markings for the next holes were still accurate and would make any adjustments accordingly.
I used a small drill bit to make the pilot hole.
Followed up with a step-drill bit to enlarge the hole to the correct size.
The transfer paper also helped for making cleaner holes by preventing the drill bit from walking and possibly taking off more paint around the outer edge of the holes. I removed the transfer paper as I went along.
I would mock up the skirt after each drill to make sure that the markings I made were still lined up correctly with the clips. I’m glad I took the time to do this as the original marks shifted as I moved along.
Here is the car absolutely ruined now. There was some left over adhesive from my previous skirts which got removed with a vinyl removal disc on a drill before installing the new skirts.
I cleaned up the holes with a small file and then used touch up paint to cover the exposed metal.
To help combat and prevent rust from forming, I used cavity wax to coat the inside of the rocker and outside around the hole. Cavity wax sprays out like a liquid, becomes slightly tacky but does remain wax-like and does not harden over time. It coats the surface and prevents moisture from sitting or building up on the areas that are coated.
I would recommend using this on any metal body panels that may have holes in them. I also used this in my trunk around the mounting holes for the wing.
I made sure to unload the cavity wax all over, but I cleaned up some of the excess to help prevent the wax from running.
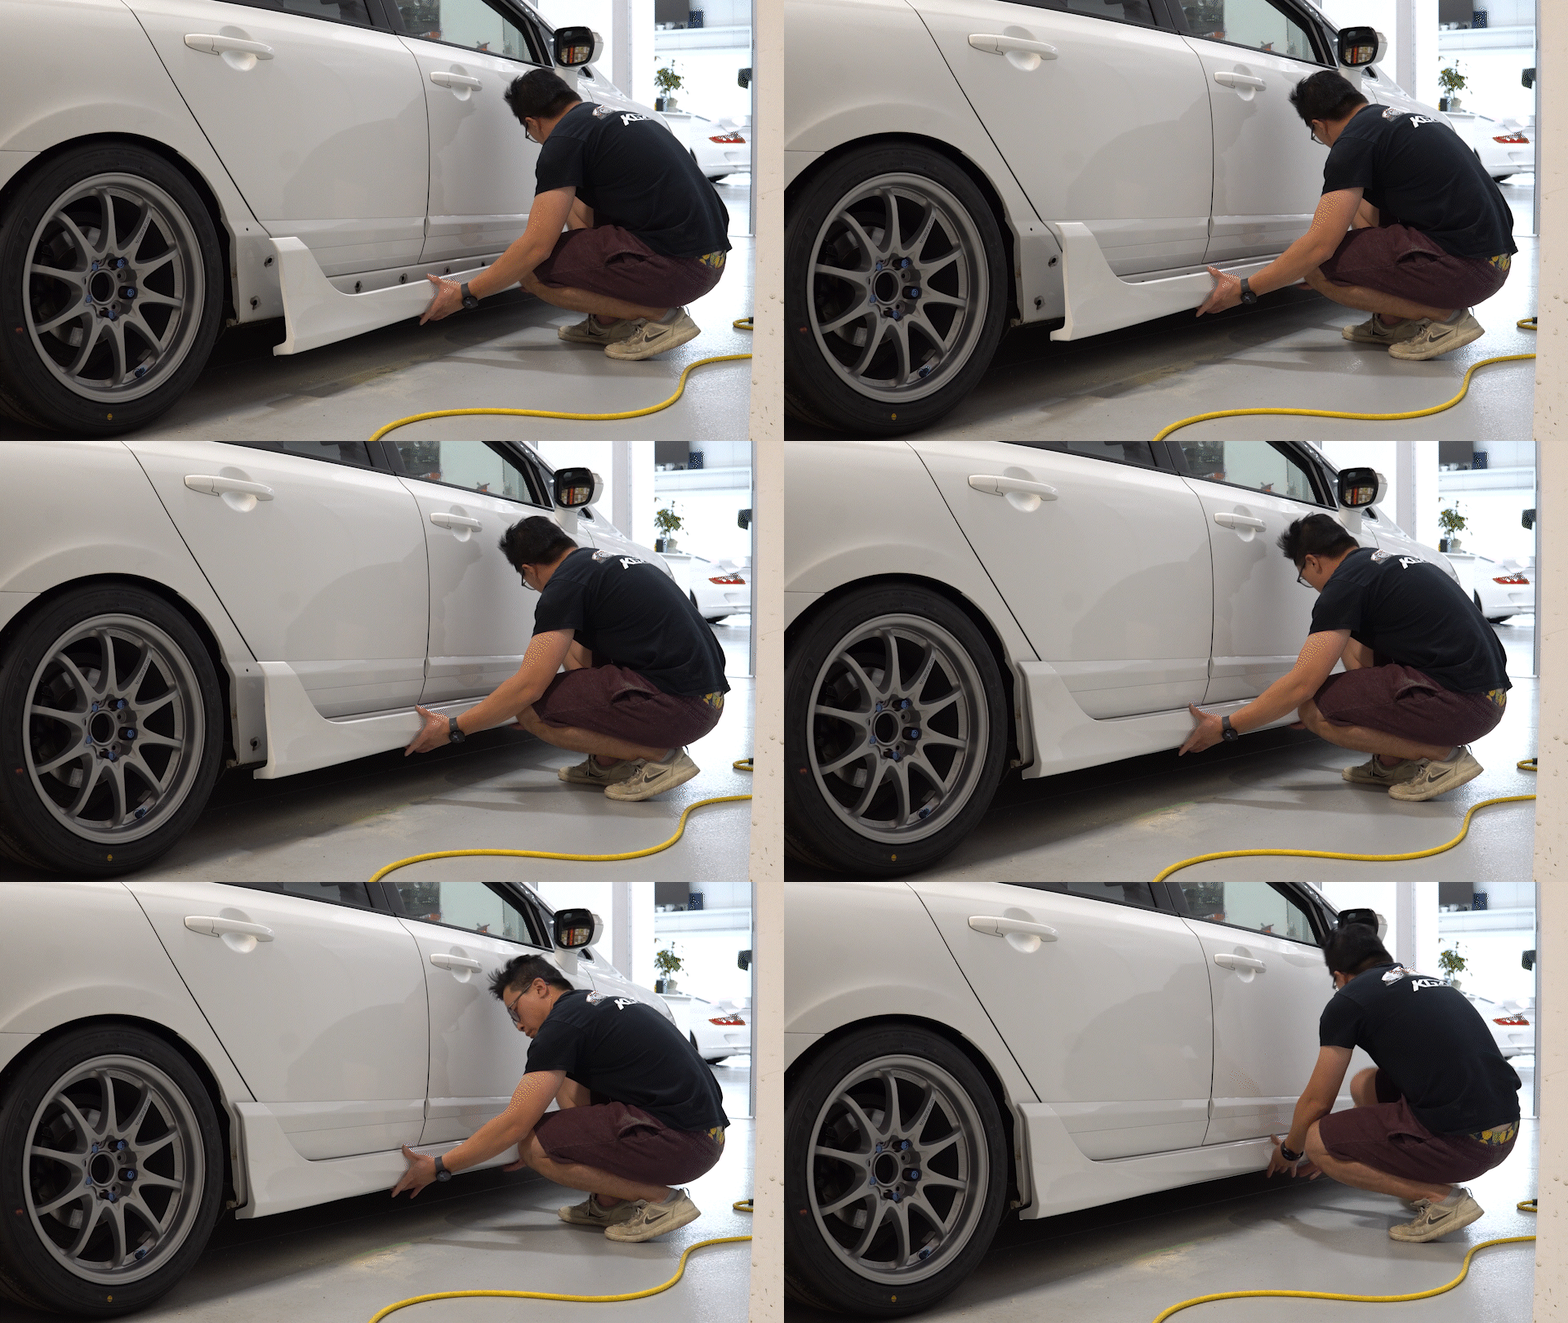
In the end I’m glad that I ended up going this route. This makes the install and removal of the skirt a breeze - should I ever need to take them off for maintenance or clean-up.
Once installed, you could never tell and the fitment is spot on.
Fin.
A close-up of the front of the skirt. I got the skirts PPF’d as well.
Perfect fit.


