Eventuri x Baja Designs
Tom came to me with the unique idea of fitting some lighting for his A90 Supra which has an Eventuri headlamp duct installed. The Eventuri headlamp duct is an air duct that sits in place of the passenger side headlamp, meaning that entire lamp has to be removed in order to fit the Eventuri piece.
While this is primarily Tom’s track car, on occasion, he does takes it out for the evening or weekend drive and wanted to figure a way to still retain some headlamp functionality. When we first started talking about the project, I instantly thought of using Baja Designs S1 LED lights to be used as the lowbeams. To me these were the perfect answer to the problem. They are designed for off-road use, making them incredibly durable and it was a bonus that they had a similar shape to the OEM jewel LEDs. After some brainstorming, we both settled on this being the route to take.
Quick snapshot of Tom’s track A90 Supra.
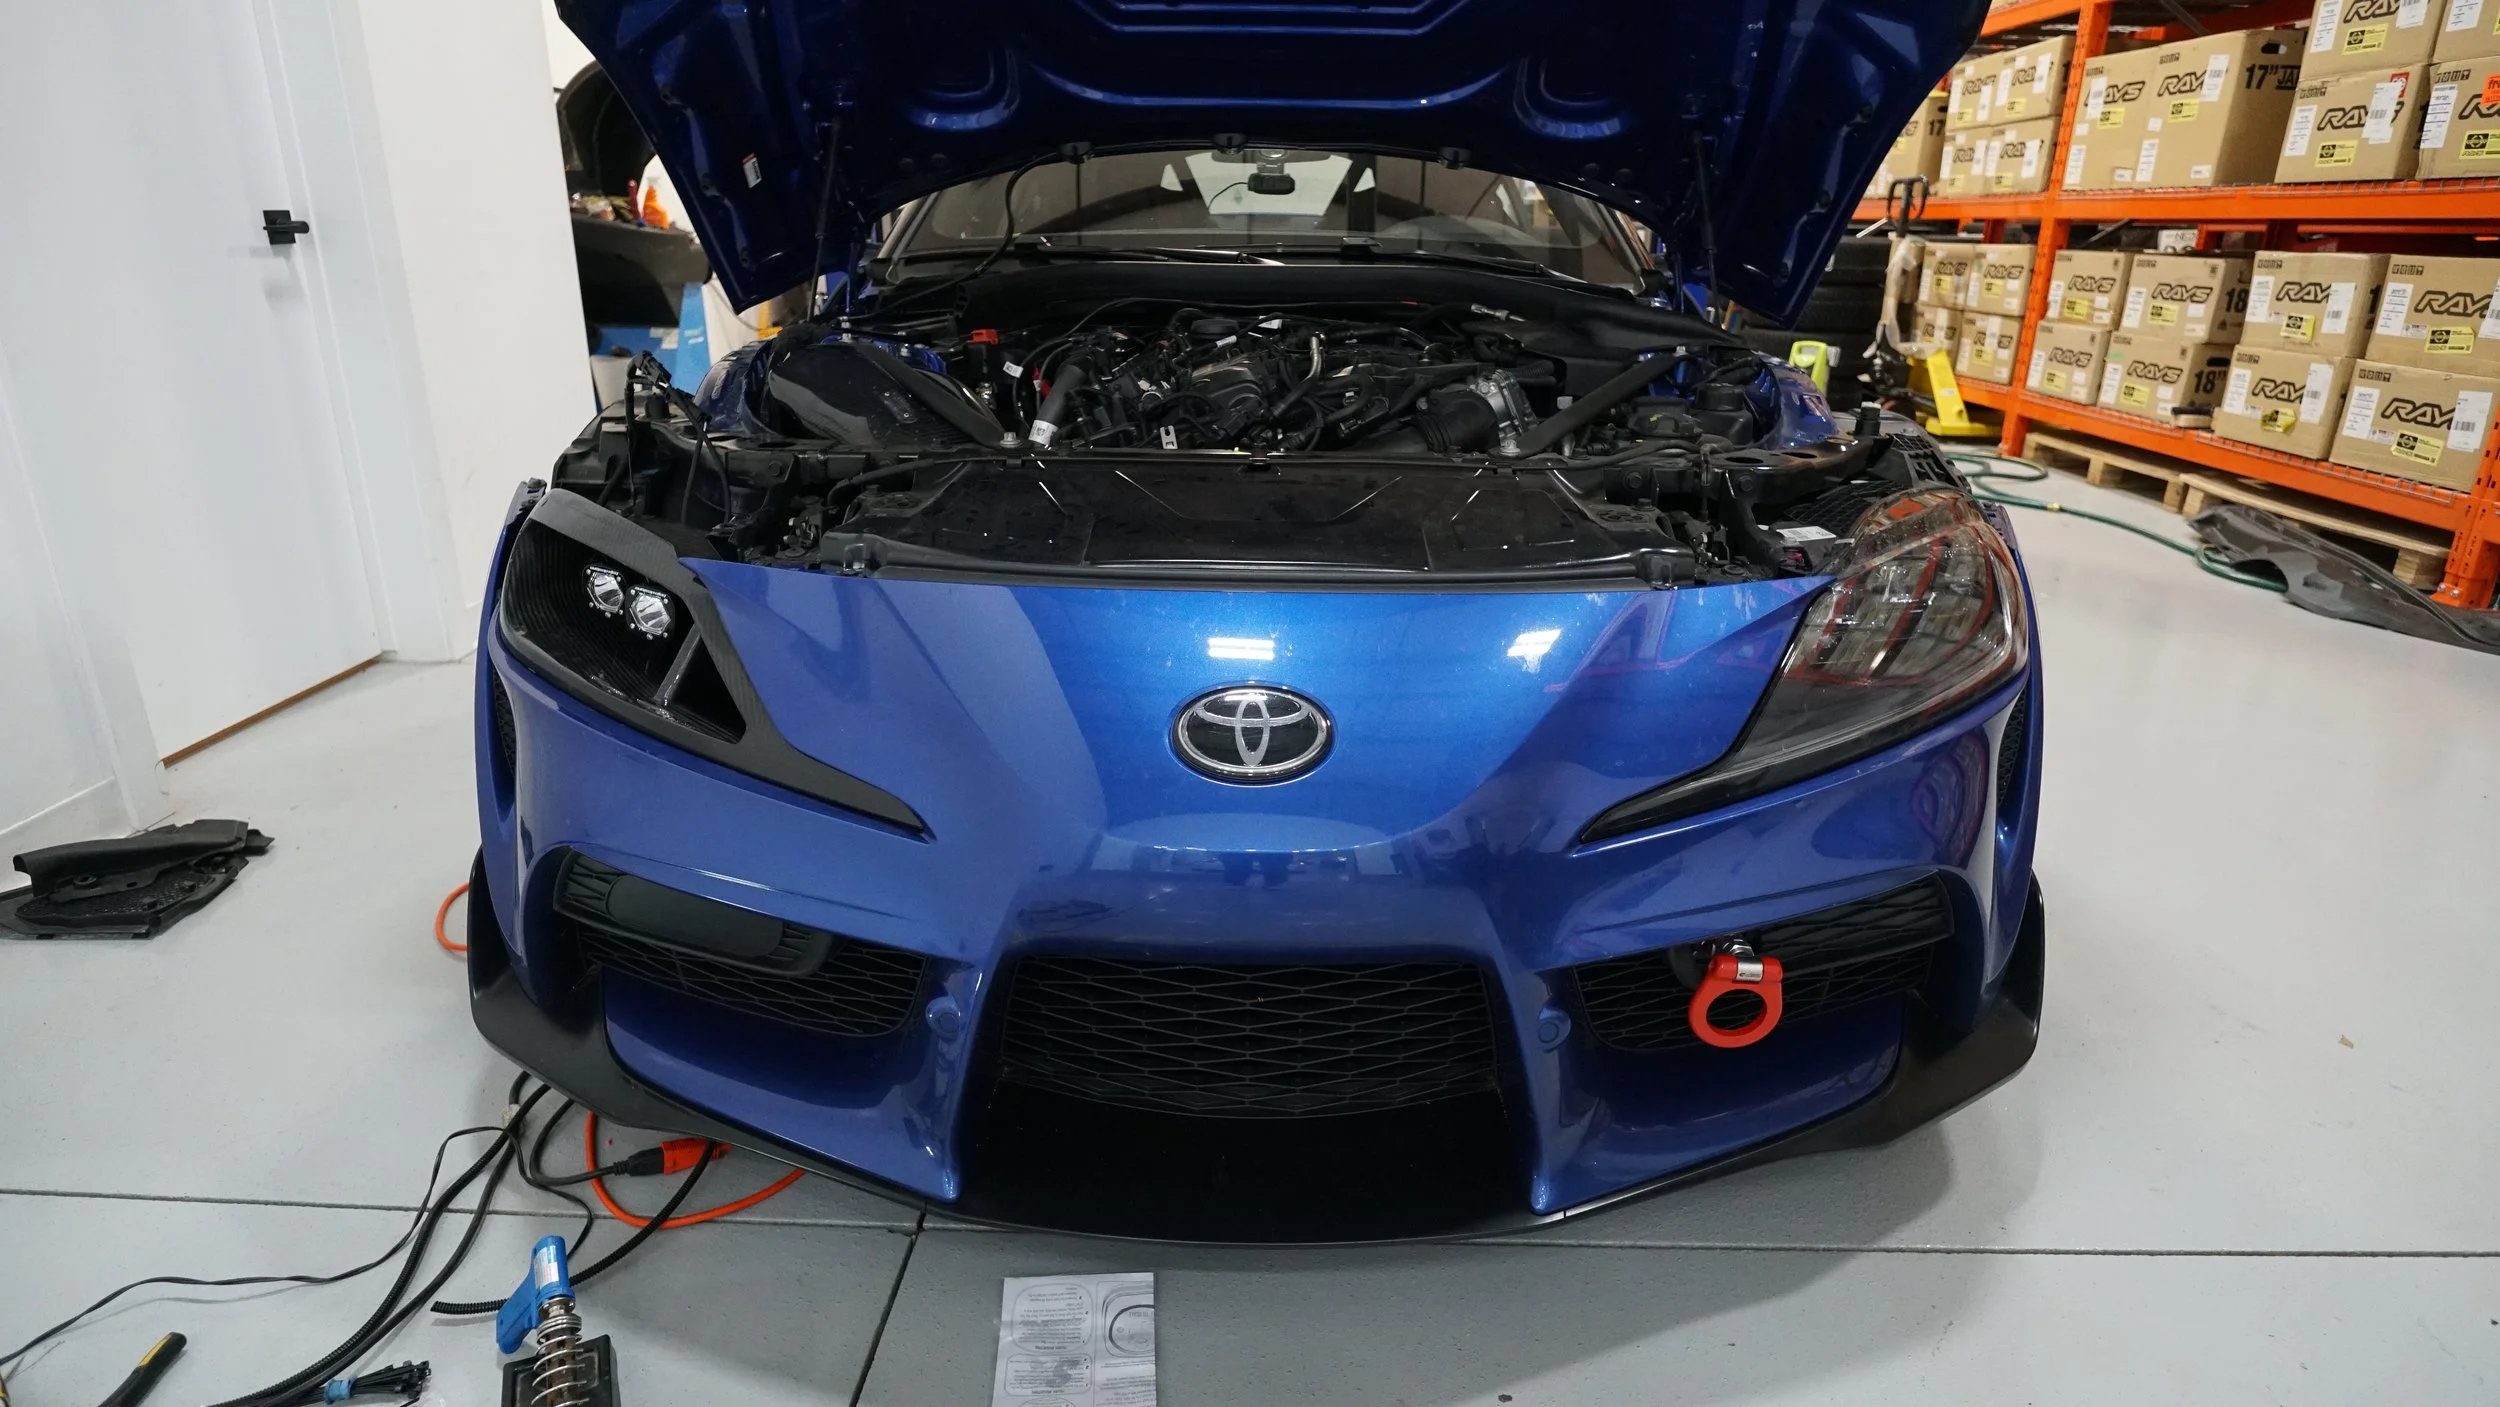
Here is the Eventuri piece installed. It’s literally just a large hole with a split. Interesting bit about this duct is that the smaller section closest to the nose of the bumper is the functional duct that directs airflow to the air intake, which sits directly behind this opening. The larger section of the duct is a direct pass through to the engine bay, but it does not directly feed air to the intake. This is a benefit to us as mounting the lights in the larger section will not restrict any airflow to the intake and the smaller duct remains functional.
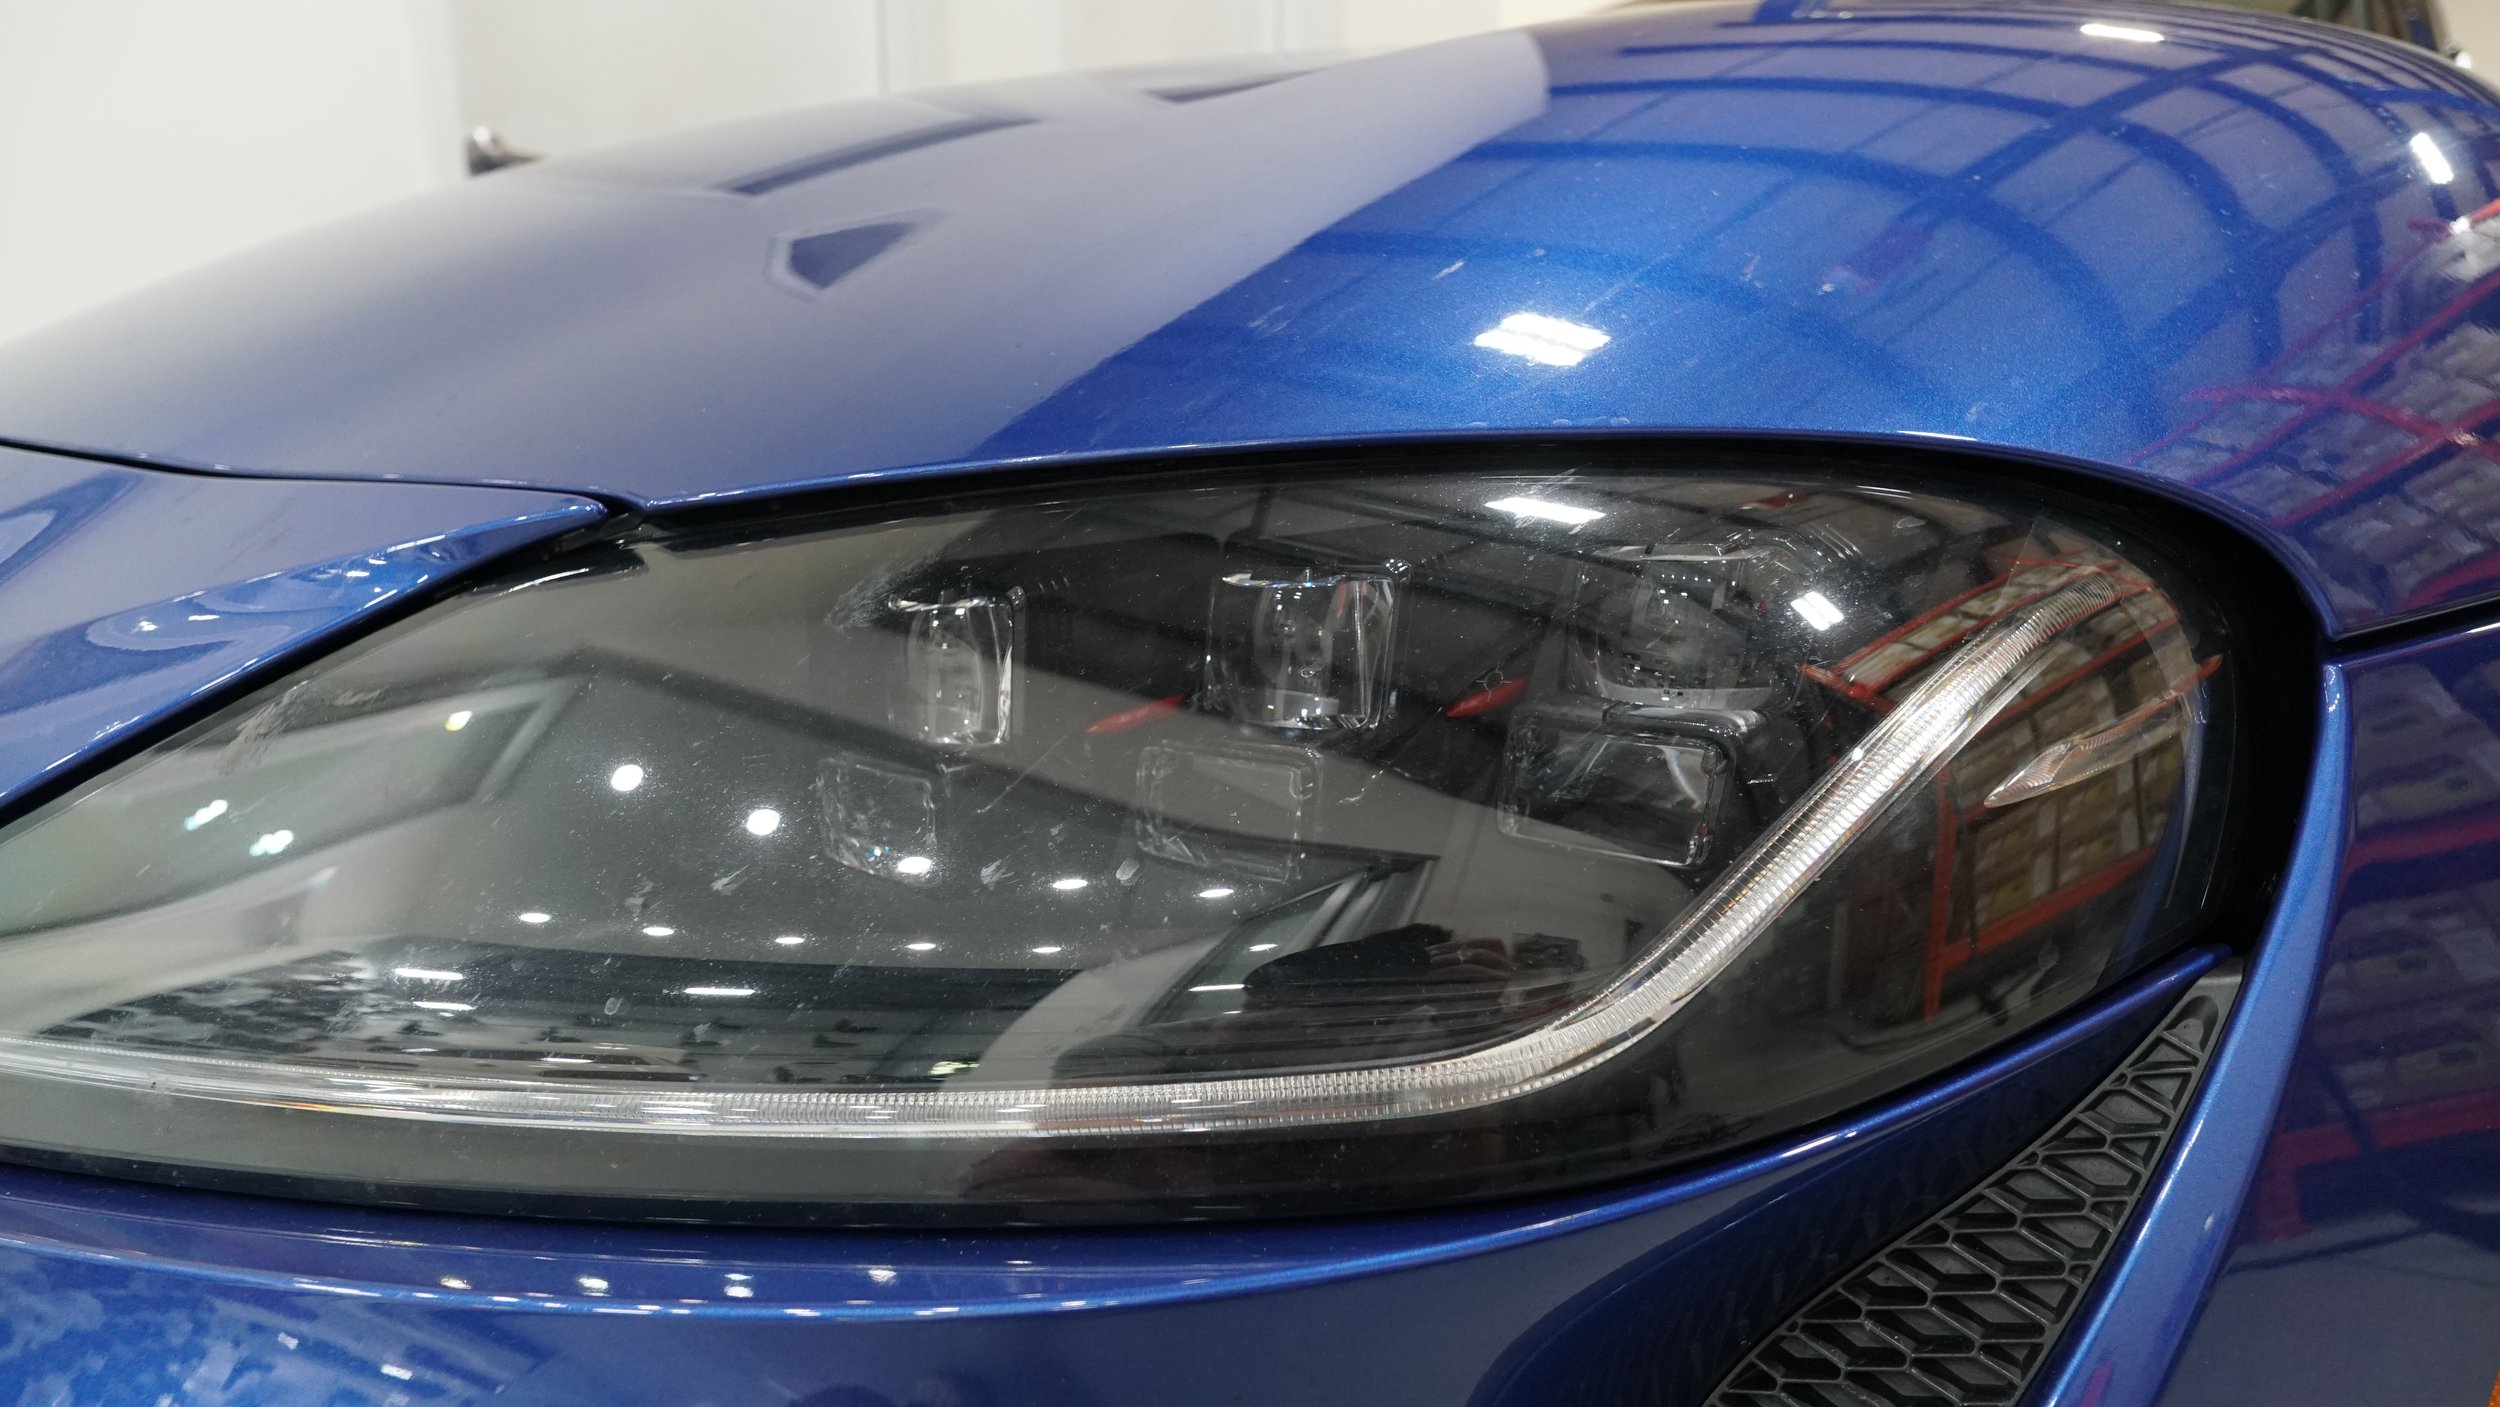
Close up of the OEM headlight. Here you can see the six rectangular LEDs along with the DRL light strip. We did chat about the possibilities about running an aftermarket light strip but I couldn’t figure out a way to do it nicely without getting to crazy with it… After all, the purpose of this modification was to make the duct look less obvious on the street, rather than trying to recreate the headlight.
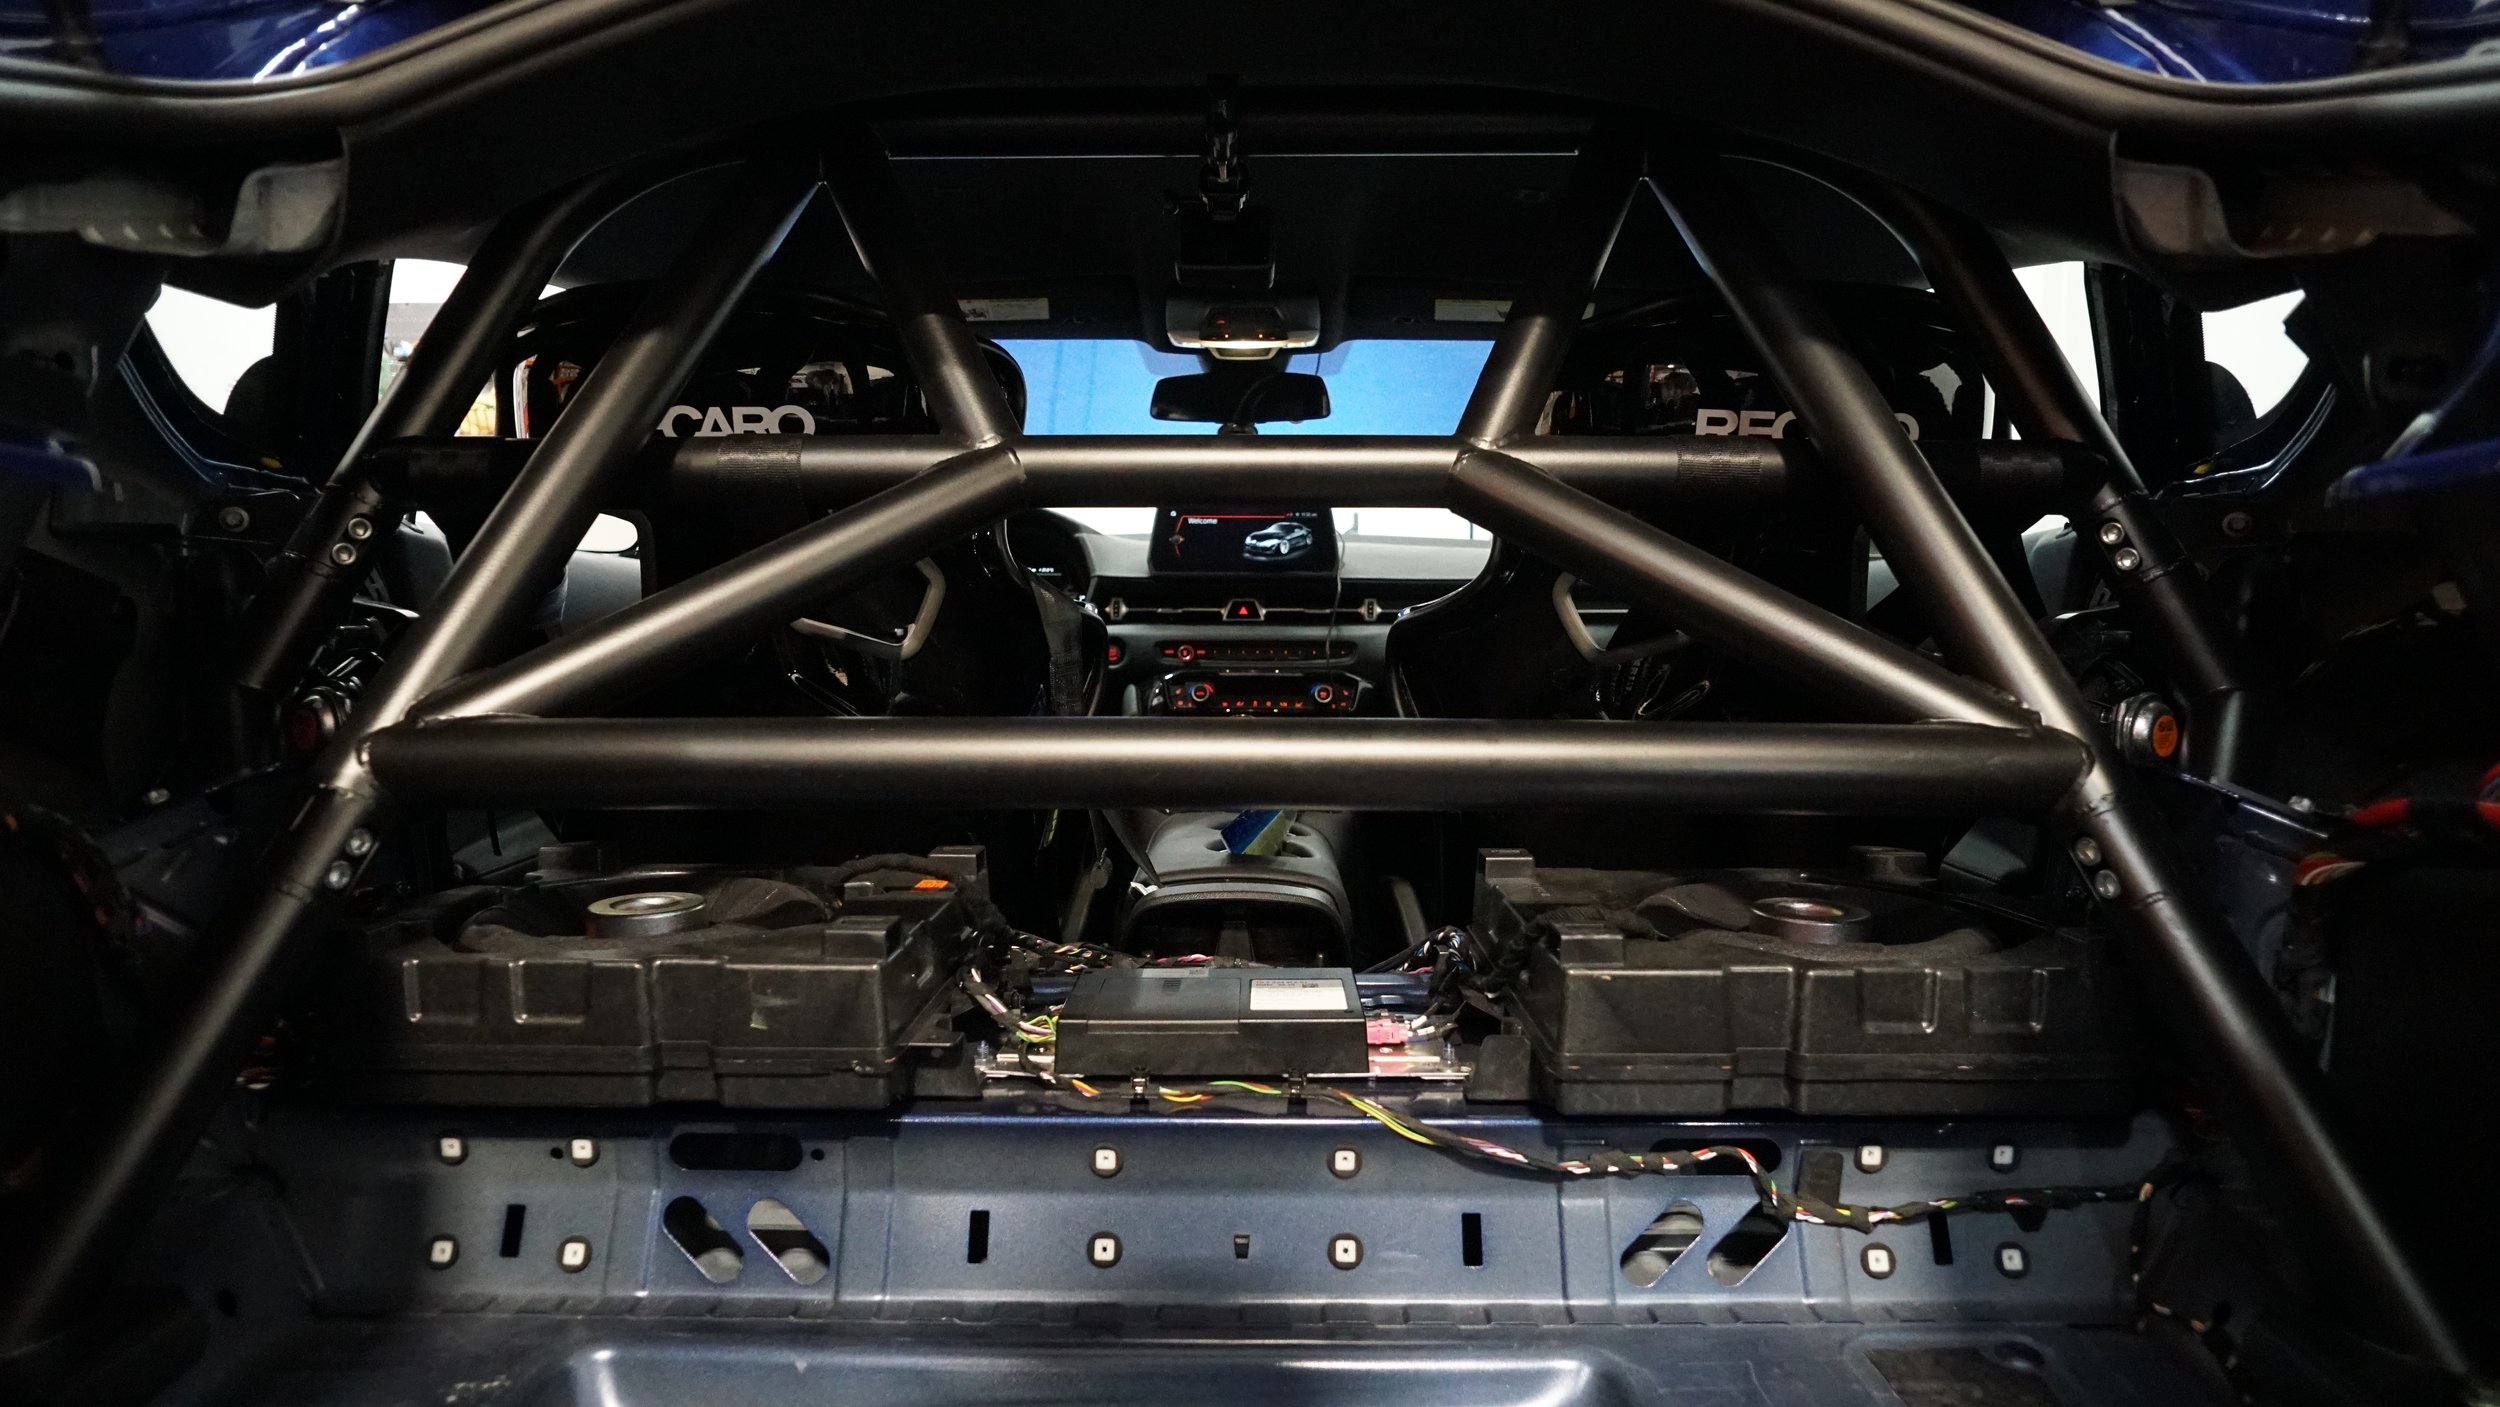
I took a moment to admire the interior of this Supra… Fitted with a pair of Recaro Pro Racer RMS bucket seats…
Beautifully designed 4 point roll cage nestled inside the rear gutted interior. Truly track focused.
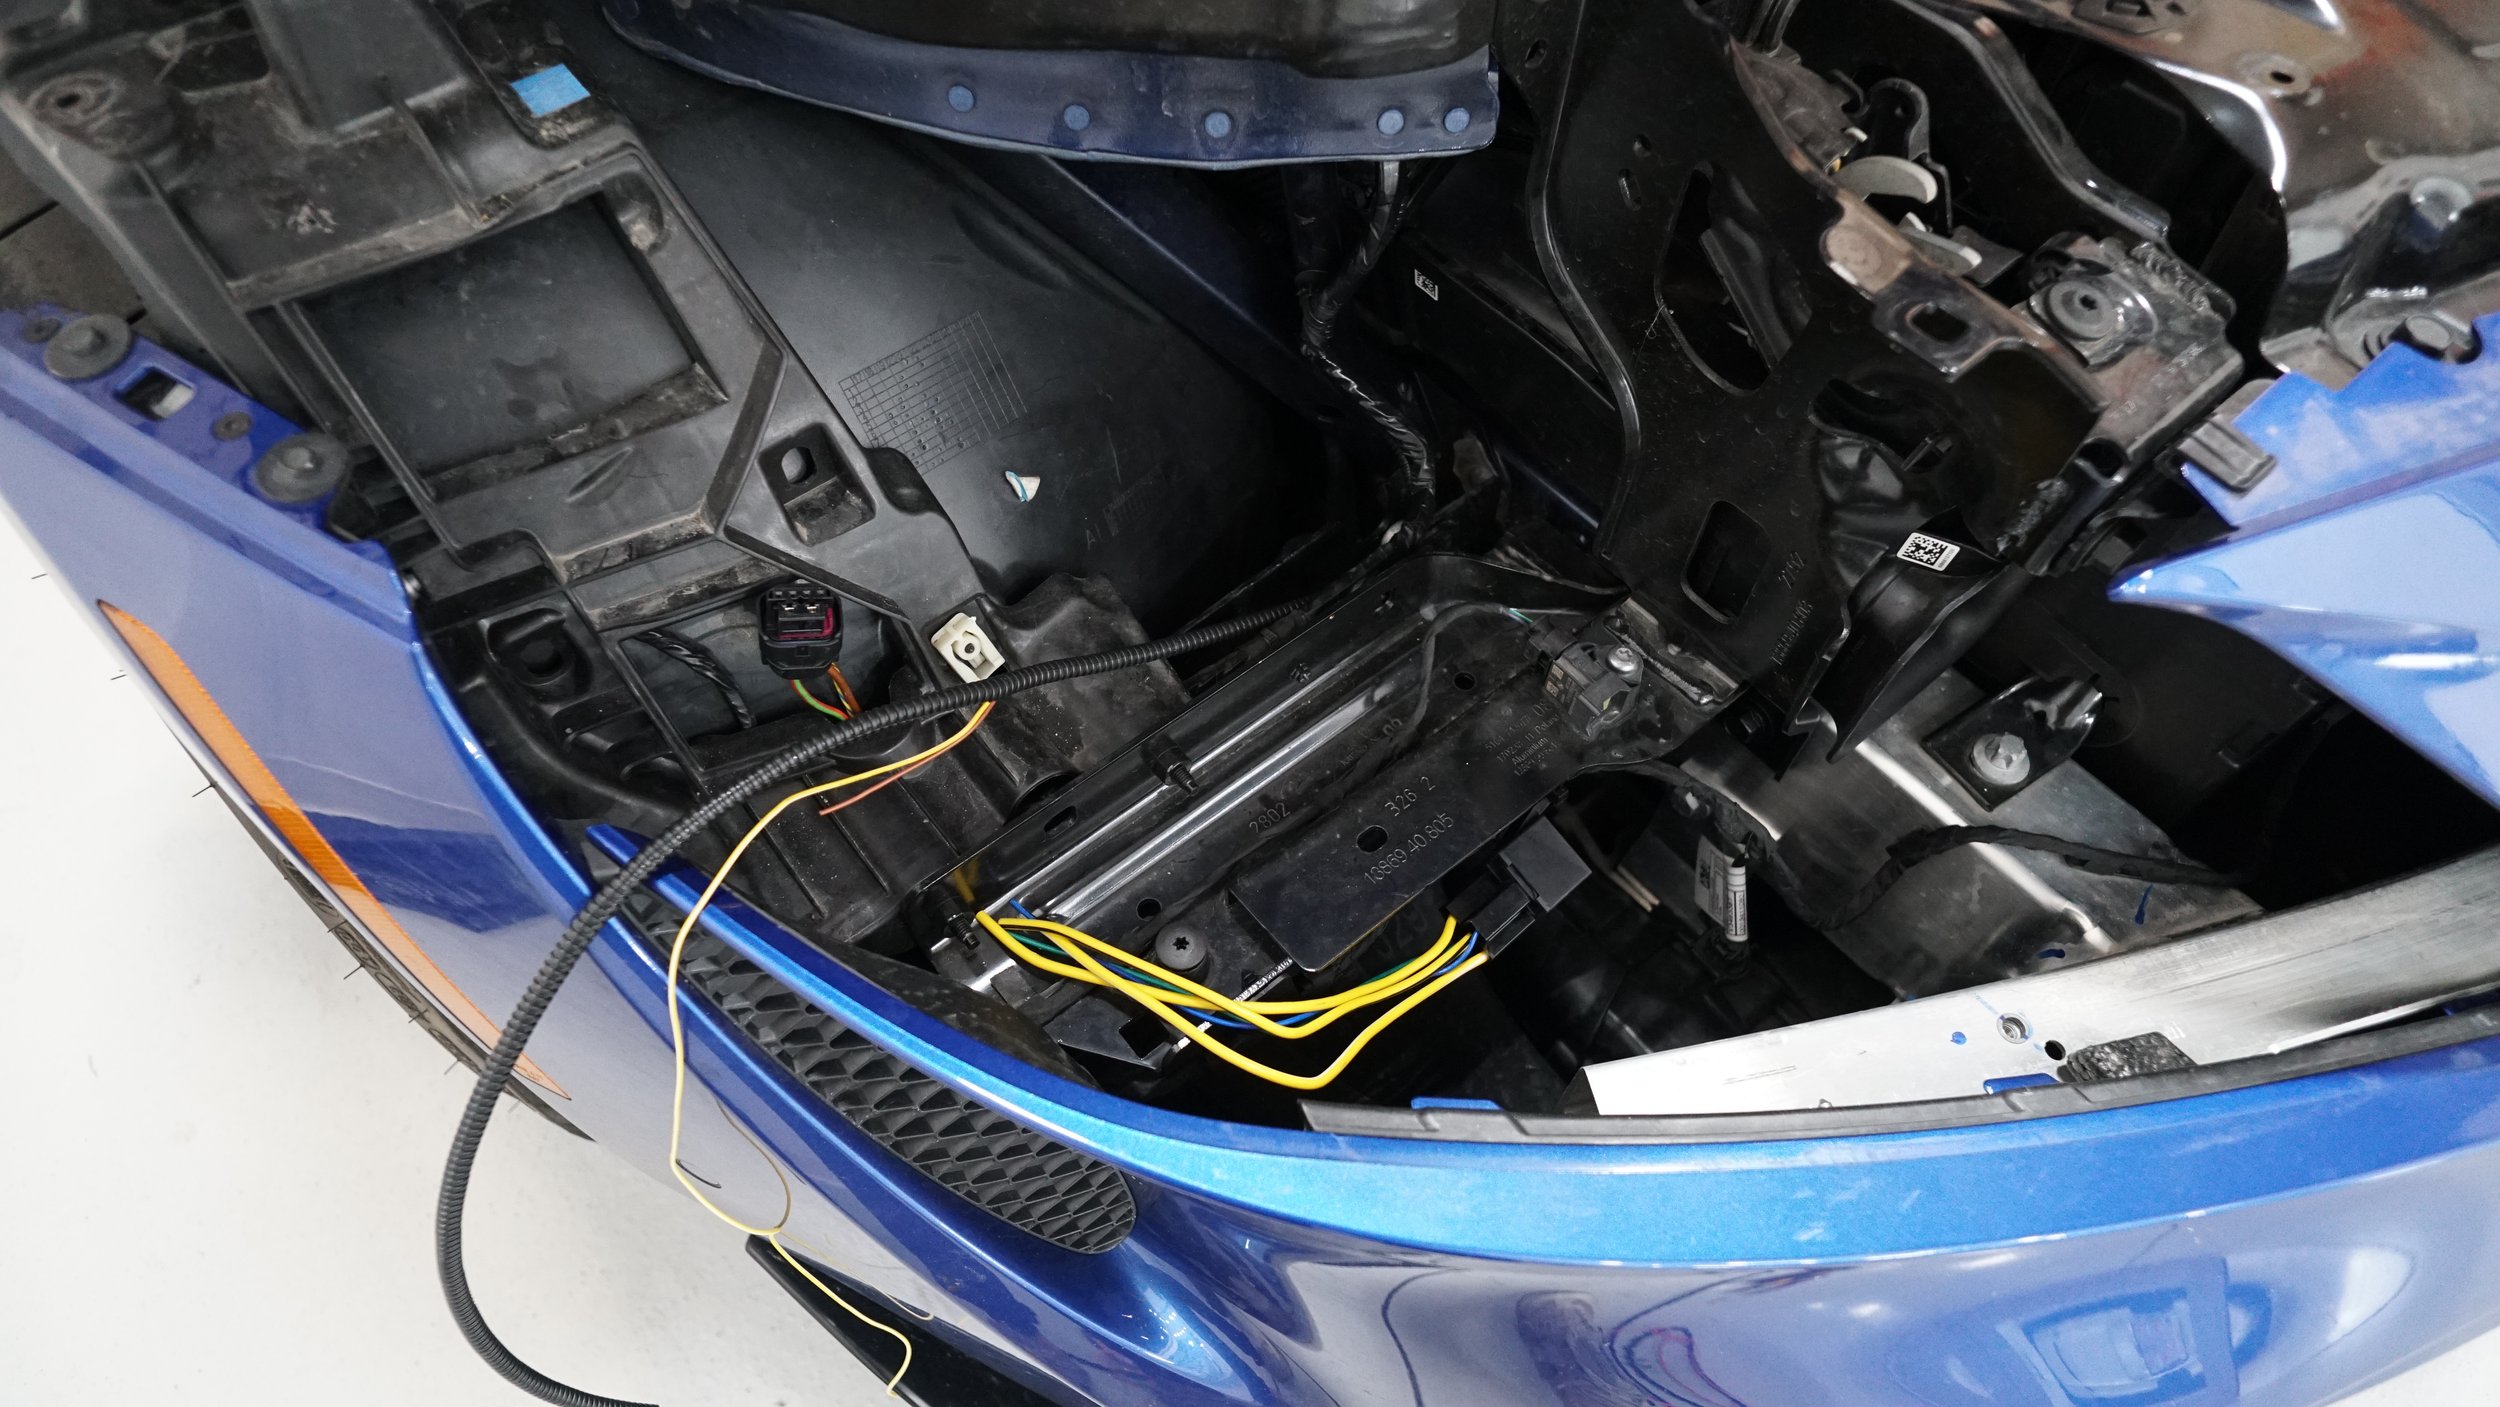
The headlamp connector. I should have known prior to the install, but it didn’t cross my mind at the time... If you take a close look, there are only 4 pins on the headlamp connector, 2 being constant power and ground, and the other 2 being canbus. This causes an issue for wiring up the aftermarket components as there is no signal wire available here to use as a source or trigger for the lowbeams or the turn signal indicator we wanted to wire in.
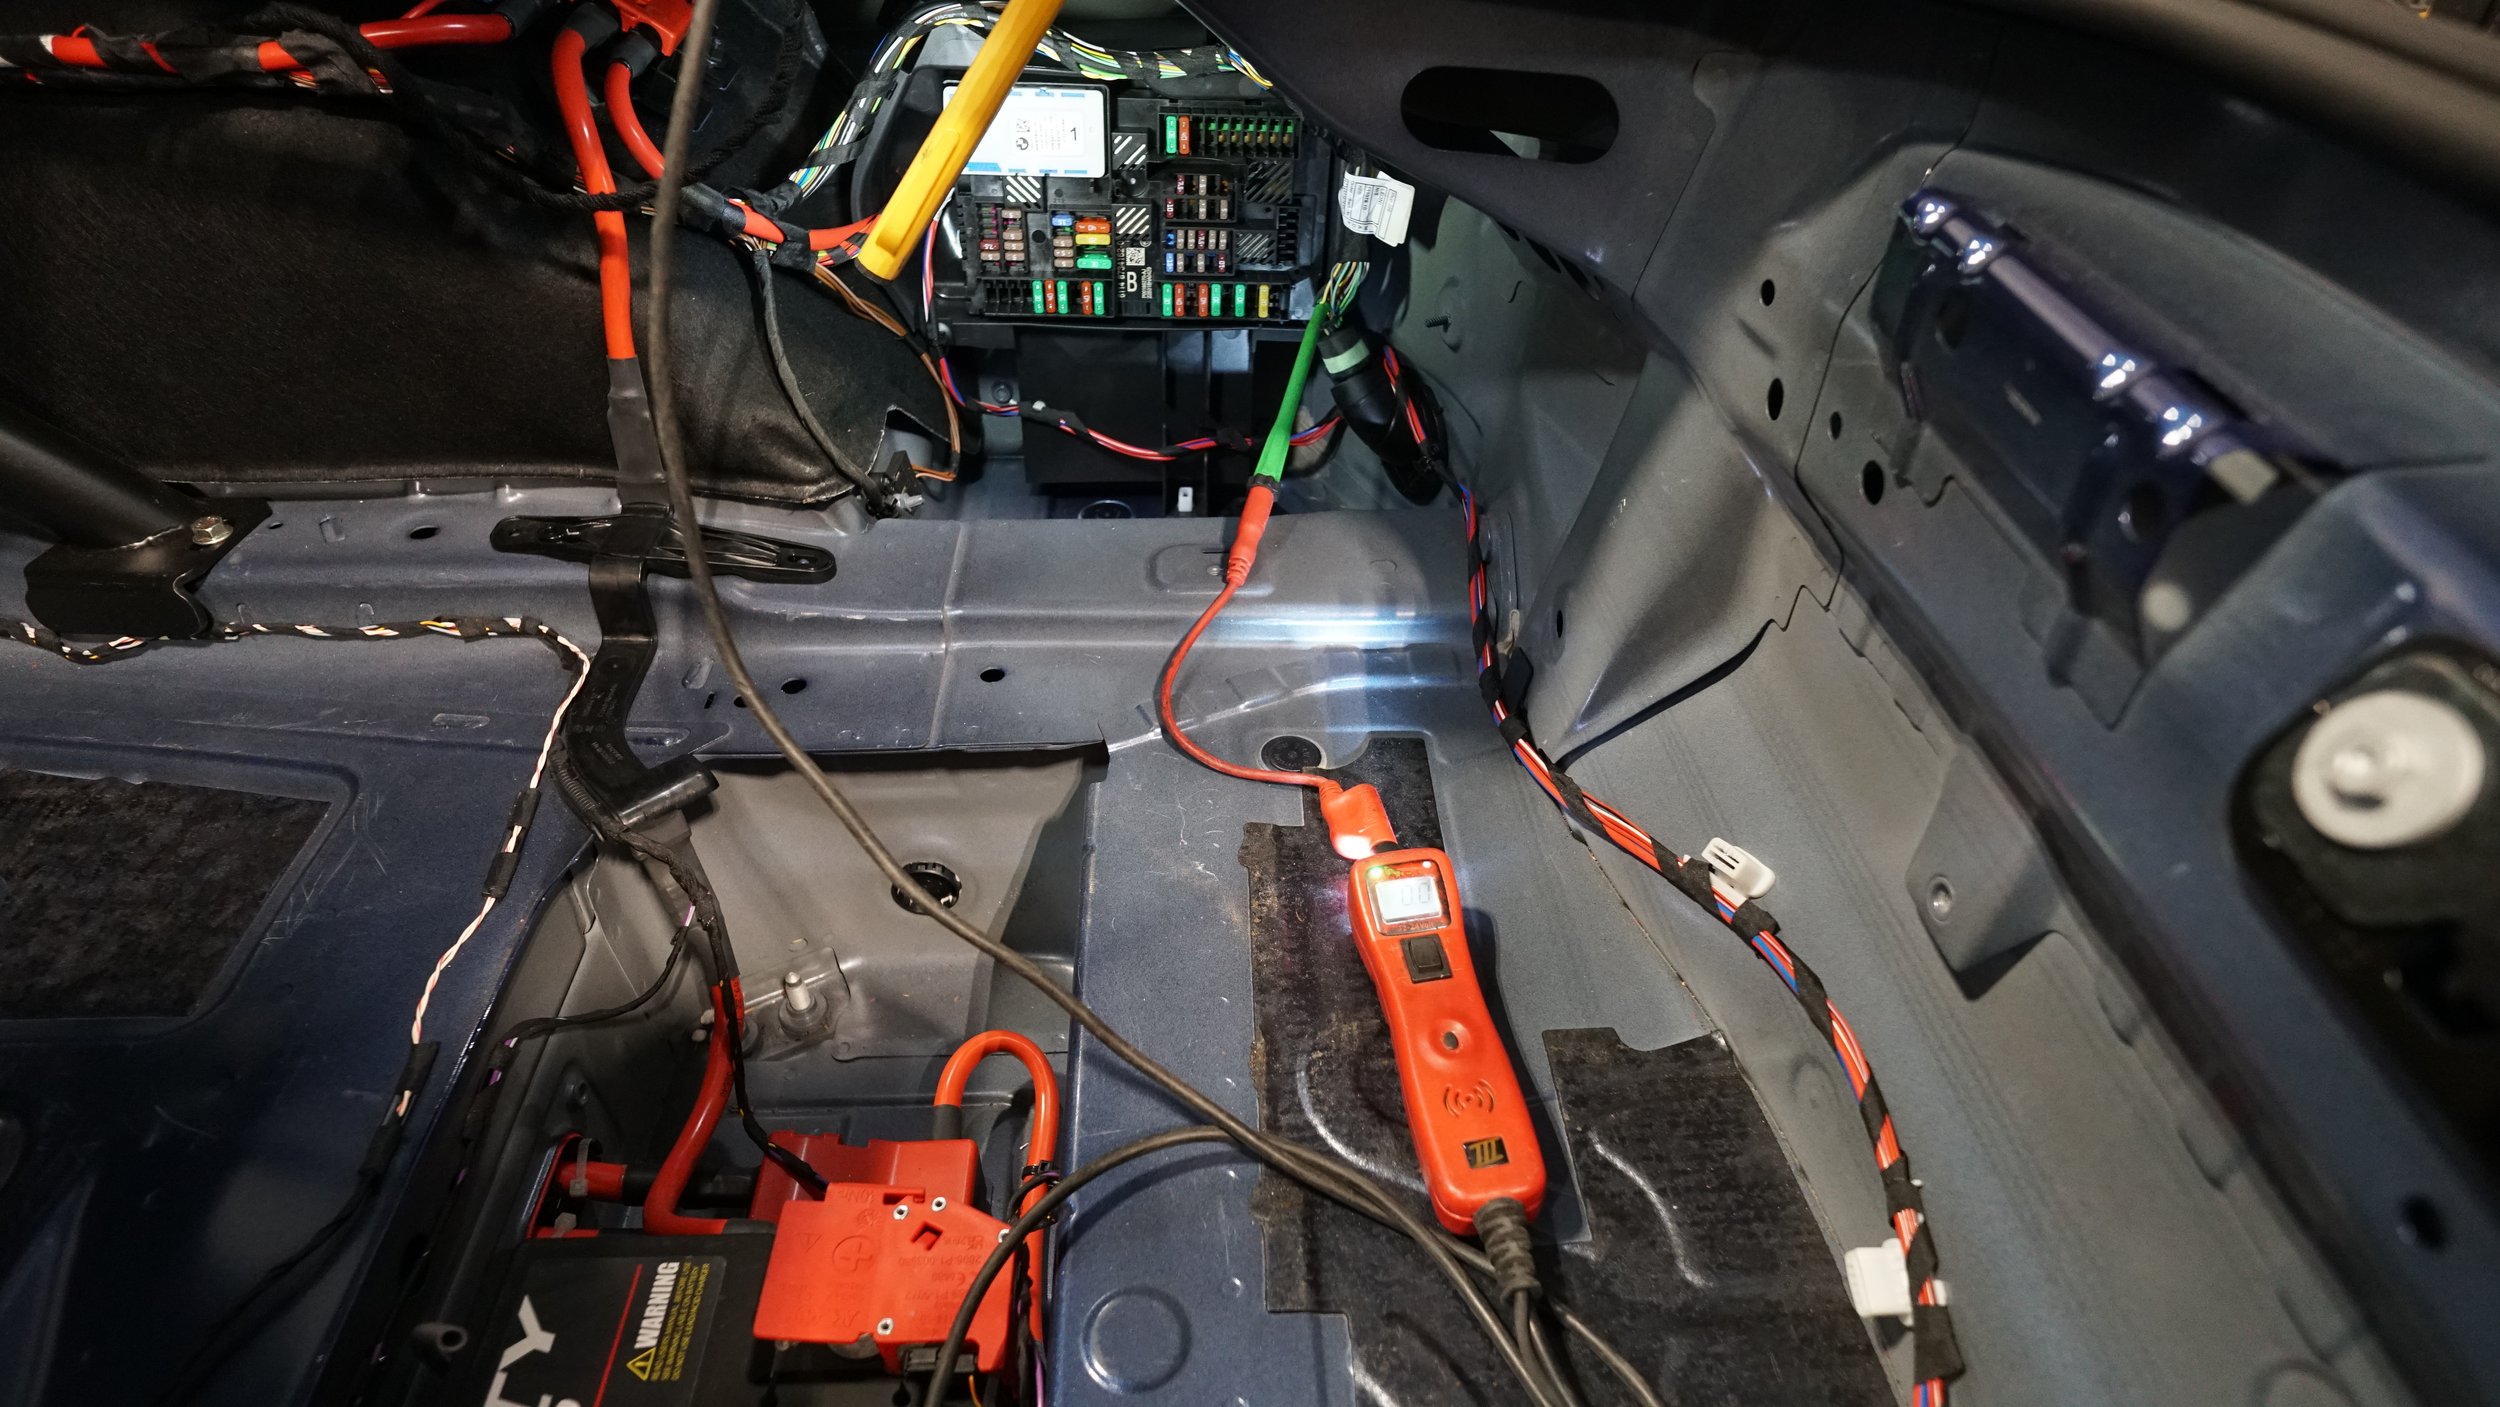
This caused me to have to do some digging. It was a huge that Tom had already stripped out the rear interior as it allowed me to fully access the rear fuse box as well as the rear section of the interior wiring harness. After some time I was able to find a source that would allow us to operate the Baja LEDs as lowbeams still controlled by the lighting switch. The wire I tapped into was the output to the rear tail lamps parking lamp signal which also turns on and off with the headlamp LEDs.
Once I had found the trigger wire we needed, next step was to figure out how to mount the Baja S1s. Quick mock up to find the right placement and to get an idea of how I wanted to approach the overall install.
With the trigger wire ran from the rear to the headlamp, I began to do some of the wiring. Here I am figuring out where I wanted to mount the relay and fuse so that they can be easily accessible.
Terminated the ends with the supplied terminals from Baja Designs.
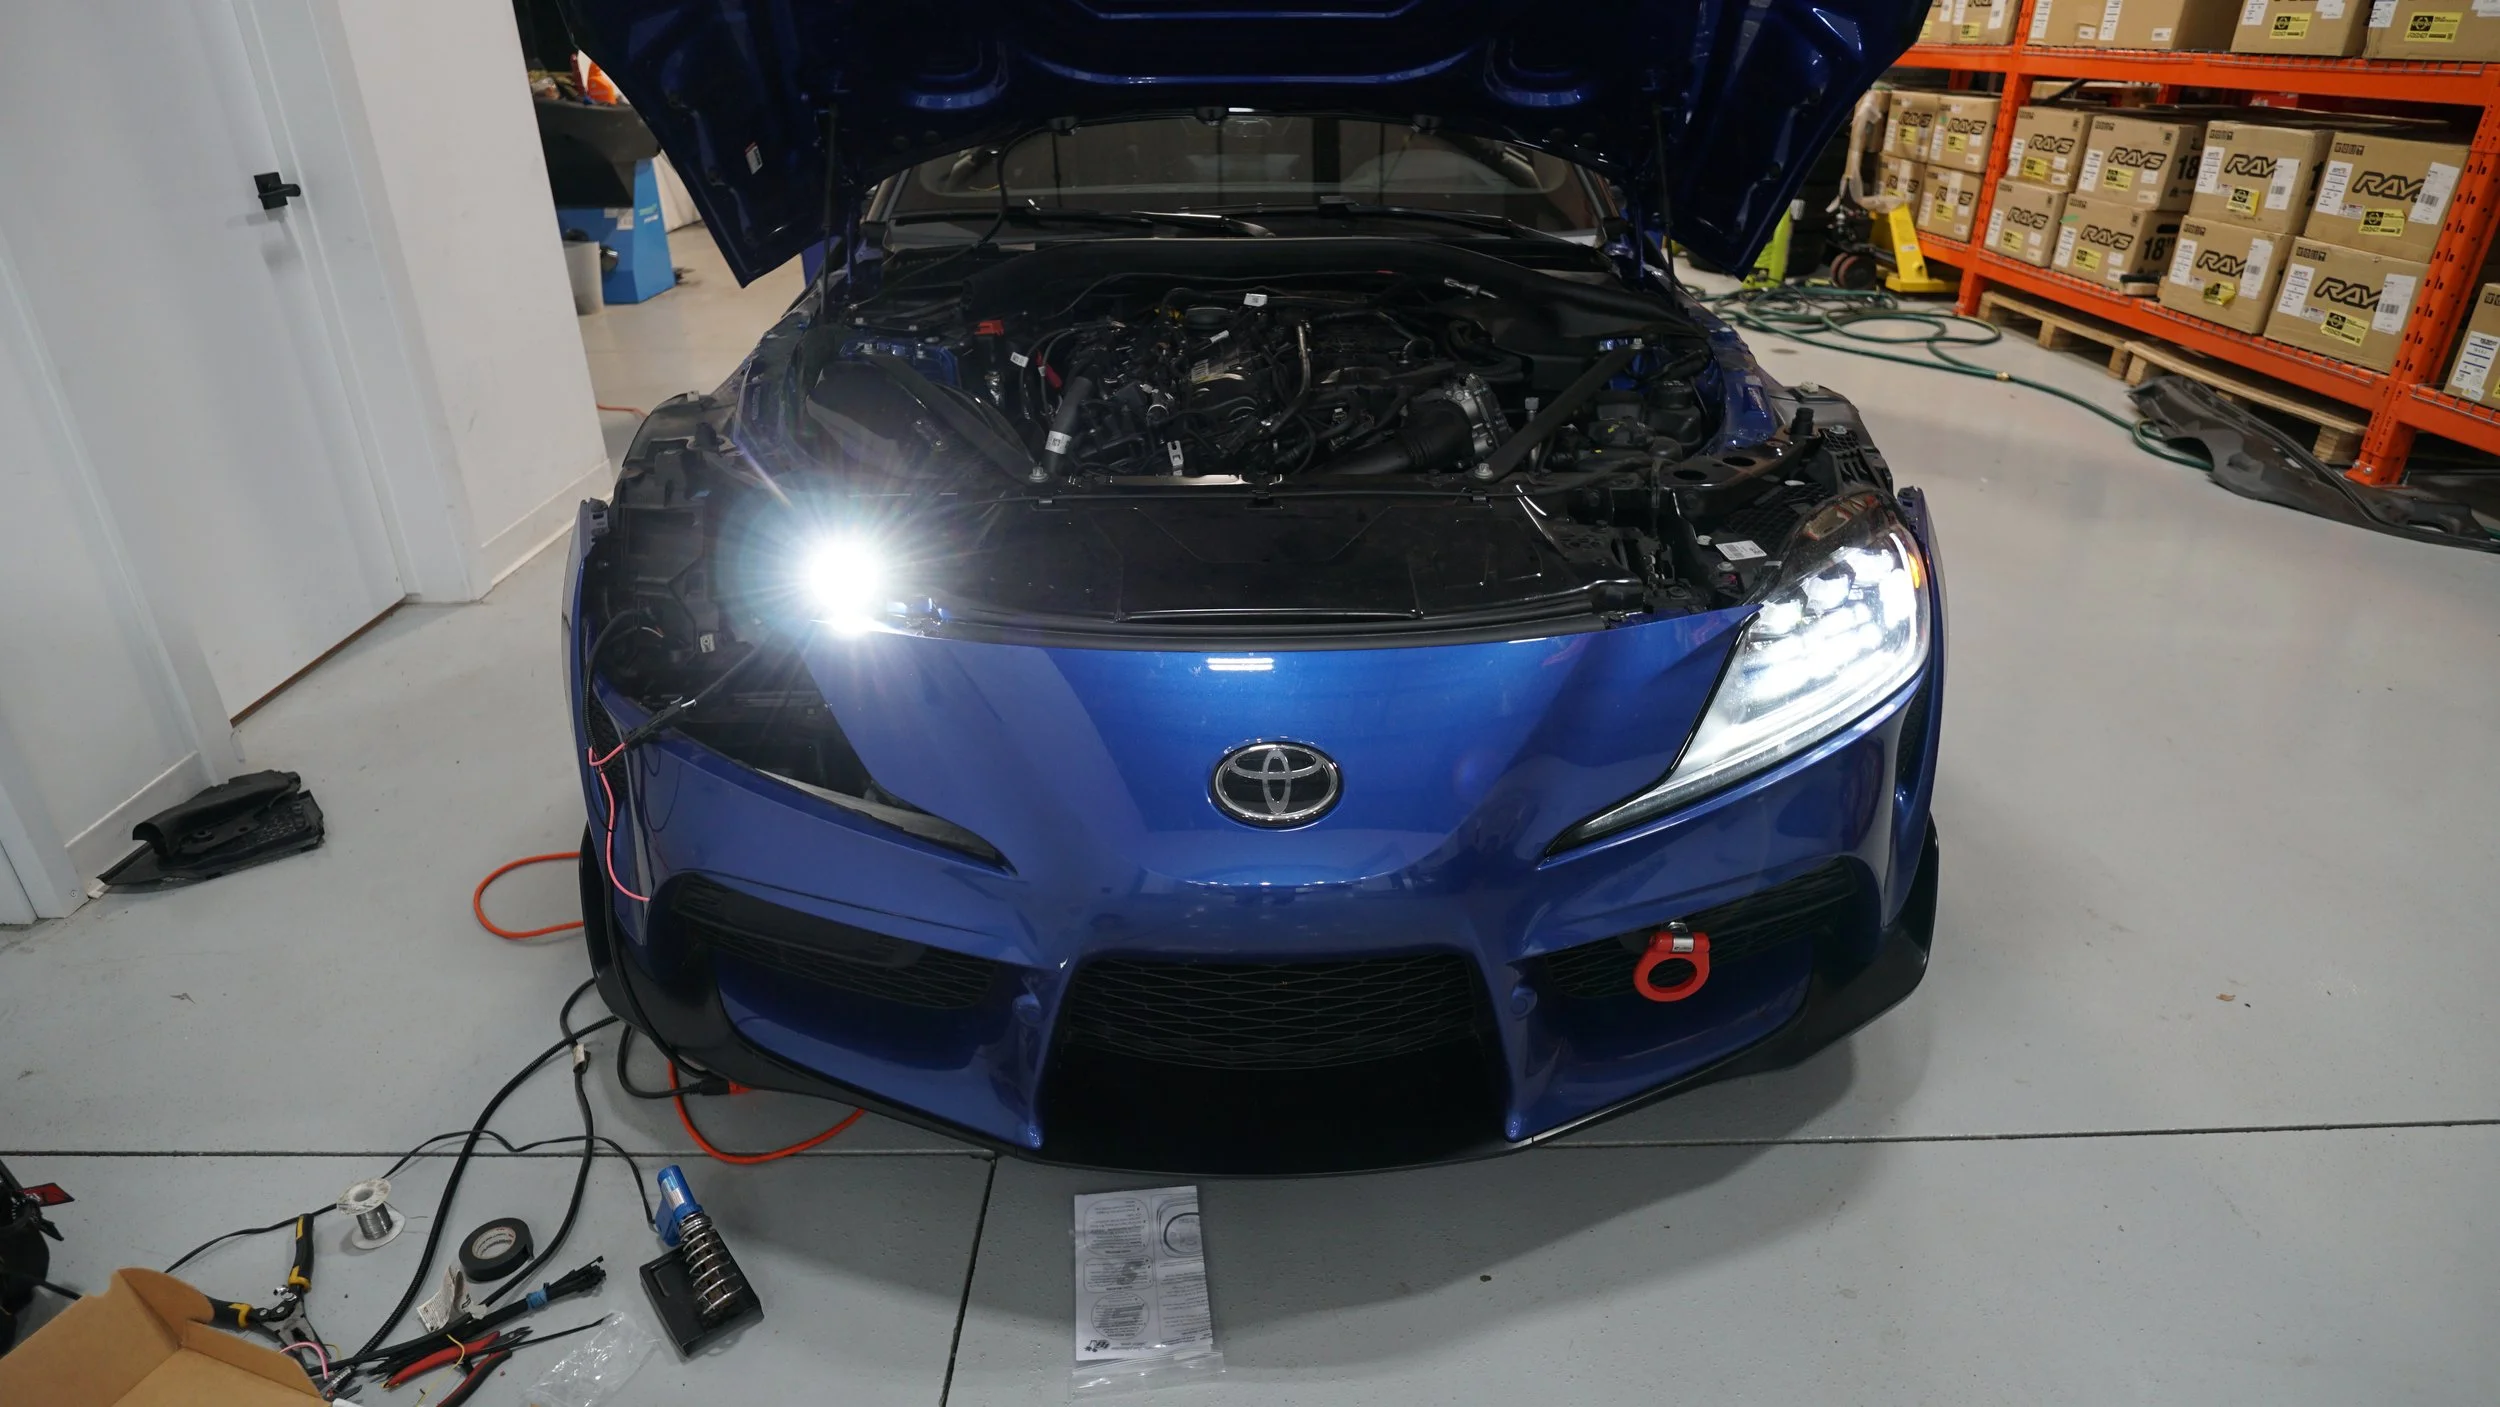
Quick test to make sure they are operating correctly before everything starts going back together.
It lit.
Once I was able to confirm that everything was working, I cleaned up the harness and zip tied the loose sections down.
Next step is to now mount the lights onto the Eventuri duct… The most nerve-wracking part as you really only get one shot to do this right, but if done right, is also the most rewarding.
I wanted the LEDs to be inset all the same from the inner lip of the duct which is easy to measure when looking from the inside up, however I wouldn’t have been able to fit a drill from that angle, so translating that from the inside edge to the top was a bit challenging.
I measured this multiple times using both a measuring tape and vernier caliper to absolutely make sure I get the spacing and alignment correct…
First light in. At this point, I measured again to make sure my markings were still accurate before proceeding with drilling the second hole. Only the inset truly matters here as it needs to match the first. The spacing between them is not as critical at this point, until we add a third light - which is going to be at a later date and will be used as a turn signal.
Pretty good.
Now with the duct and S1s installed back onto the Supra.
First test with the new lights and duct fully installed.
I made some minor adjustments so that the two were angled the same way.
Once I was satisfied with the position of the lights, I flipped the face place around so that the logos were facing the right way up.
Pretty pleased with how this mod turned out. Once the third S1 gets installed, I think it will really complete the look as it will fill up the rest of the duct. The next challenge is finding a signal for the indicator, but that will be a future problem…
Thanks to Tom for trusting me on this project! Will be looking forward to getting the third S1 installed.


